Alright, so you want to build a wooden serving cart, huh? You’ve got a good eye, because a sturdy, beautiful cart can be a real game-changer for your parties and events. It’s a piece that’s both practical and stylish, adding a touch of elegance to any gathering. Plus, you’ll have the satisfaction of building something with your own two hands!
Let’s dive in, shall we?
First things first: The plan
You need a plan, my friend. You can either sketch out your own design on a piece of paper, or find a blueprint online. A quick search on Pinterest or Etsy will yield a bunch of cool ideas, from simple carts with a single shelf to elaborate designs with multiple tiers and intricate details.
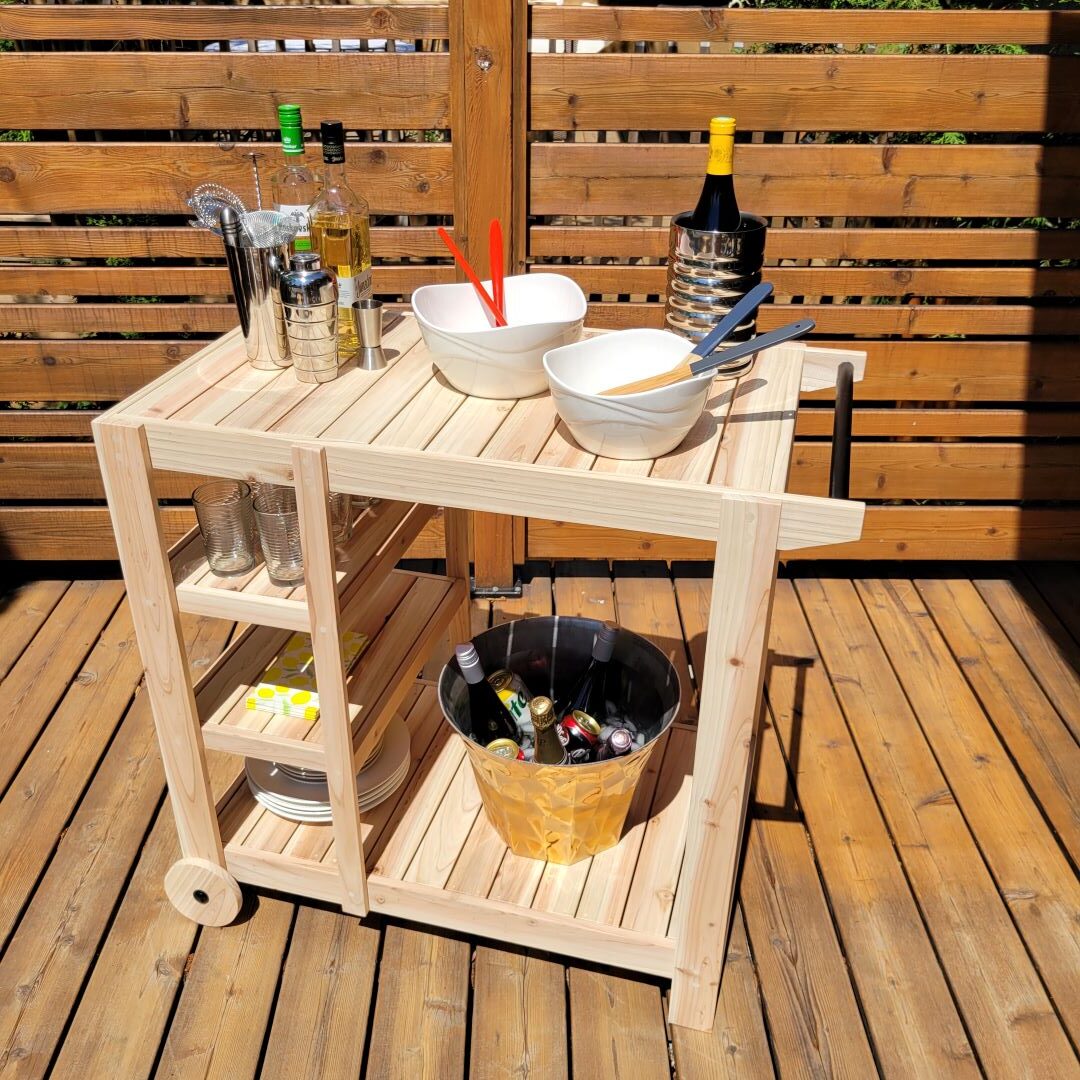
For this project, let’s go with a classic, two-tier cart. It's a good starting point, and you can always get fancier later!
Gather your materials
You’ll need:
Wood: We’re going for a classic look here, so solid wood is the way to go. Pine is affordable and easy to work with, but oak or maple will give you a sturdier, more luxurious cart. I recommend using 1x2s for the frame, 1x4s for the shelves, and 1x6s for the sides. You’ll need to determine the length and width of your cart based on your design.
Wood glue: This is essential for holding everything together.
Wood screws: I recommend using 1 ½†or 2†screws for the frame and shelves.
Casters: These are the wheels that will make your cart mobile! Choose casters with a good load capacity, and consider the size and style you want.
Stain or paint: This is for the final touch, and it’s all about your personal taste. A nice dark stain will give your cart a classic, rustic feel, while a bright paint job will make it stand out.
Now, let’s get building!
1. Cutting the wood: This is where you’ll use your saw skills. Measure carefully and cut the wood to the dimensions you’ve planned. I recommend using a circular saw for straight cuts, but a jigsaw can be helpful for any curves or special shapes you’re working with.
2. Assembling the frame: The frame is the backbone of your cart, so make sure it’s sturdy. Start by cutting four pieces of 1x2 for the sides, two for the top, and two for the bottom. These pieces should be the same length as your desired cart width. Then, cut two pieces of 1x2 for the front and two for the back, which should be the same length as your desired cart depth.
3. Attaching the frame pieces: Lay out your frame pieces on a flat surface. Use wood glue and screws to attach the side pieces to the top and bottom pieces. Then, attach the front and back pieces to the side pieces, creating a rectangle shape.
4. Adding the shelves: For each shelf, cut two pieces of 1x4 the same length as the frame width. Attach these to the frame, using wood glue and screws, making sure the shelves are parallel to the top and bottom of the frame.
5. Attaching the sides: This is where it starts looking like a real cart! Cut two pieces of 1x6 for the sides, the same length as the height of your cart. Attach these to the sides of the frame, using wood glue and screws. You want to make sure the sides are flush with the top and bottom of the frame.
6. Adding the casters: Finally, attach the casters to the bottom of your cart. You can use screws or brackets, depending on the type of casters you have.
7. Sanding and finishing: Now it’s time to give your cart some TLC. Use sandpaper to smooth out any rough edges and give it a consistent finish. Then, apply your chosen stain or paint, following the manufacturer’s instructions.
The finishing touches
To make your cart truly unique, consider adding some decorative touches!
Handles: Installing some sturdy handles on the sides will make it easier to move your cart around.
Rails: You can add decorative rails to the top and bottom of the cart for a more refined look.
Metal accents: Metal accents like screws, hinges, or drawer pulls can add a touch of industrial chic.
And there you have it! You’ve built yourself a beautiful and practical wooden serving cart. Now, go ahead and fill it with your favorite treats and drinks and get ready to impress your guests. And remember, this is just the beginning. You can always customize your cart and add your own unique touch!
Don’t be afraid to experiment!
I hope you have a blast building your serving cart. And don’t forget, it’s all about having fun and being creative. So relax, enjoy the process, and be proud of your creation!


